Toha Deep Dive
Introduction
Toha is a long-form generative series released on GEN.ART in late 2021. In this post I’ll be attempting to explain some of what makes Toha tick.
As I write (or dictate) this, I’m currently waiting on hand surgery so it’s likely I will expand this post in the future when I’m not relying on my very patient wife to type large parts of it.
If there’s anything I’ve explained badly or you would like to know more about, then please hit me up on Twitter so I can improve this post over time :)
Background and Early Development
I’ve long been fascinated by Rorschach tests and the wider concept of pareidolia, the human tendency to try to see or discern something in familiar in an abstract pattern or inanimate objects.
I originally envisaged Toha as a series of monochromatic reflected inkblots. As I built out a very rough prototype, I realised quite quickly that whilst this would produce outputs that were potentially interesting, they would not be particularly aesthetically appealing.
An early prototype of Toha.
This used a small number of large monochromatic particles.
It also used an image to create the background texture rather than an algorithmic approach. This was later reworked in order to allow the entire code to be stored on-chain.
A first attempt at adding color
This image is using a palette from one of my previous projects. Whilst it’s not a great fit for Toha, it lifted the previous output and confirmed that the introduction of color was a positive step.
Perfectionism vs Performance
Around the same time that it became clear that Toha needed color, I was already struggling to balance output quality and performance.
Calculating positions and then drawing a large number of particles is slow, especially when you do it eighty times. The more particles you add, the worse this gets, especially on older or mobile devices. At a certain point, you’re likely to trigger browser warnings that the page isn’t responsive and that’s a pretty crappy experience.
To combat this, I updated the on-screen display every loop, reduced the noise complexity (more on this later), and endlessly tweaked the number of particles until I found what I felt was a good compromise.
I revisited this trade-off several times and was very fortunate that during my discussions with the GEN.ART team, they suggested a wonderful approach. We could render a static image on their servers, this would be used on Opensea and the GEN.ART gallery and would solve any client-side performance issues. Alongside this, we’d host the live animated version on the GEN.ART website with dynamic resolution support and hi-res export options.
Armed with this knowledge, I quietly increased the particle count a little bit whilst Adam and Chris weren’t looking, but that’ll be our little secret and had absolutely nothing to do with the server load on launch day!
Making some Noise
A core component of Toha is an underlying noise field. This is effectively a grid where each x-y coordinate is assigned a value between 0 and 1. Depending on the “noisiness” of your noise field, the values will change slowly or quickly as you move around the grid.

A Simple Noise Field
In this image, pure white represents a value of 0, whilst pure black represents a value of 1.
In this blurry form, it’s not easy to see how this could ever turn into the outputs you might have seen.

A “Stepped” Noise Field
In this visualisation, rather than having a smooth transition from white to black, I’ve split our values into four steps (0-0.25 through to 0.75-1).
At this point it’s much easier to pick out the beginnings of some familiar Toha shapes.

Constrained Values
As a next step, we can focus on just a set of values in a much smaller range.
In this image I’ve picked out just the points where the value of the noise field is between 0.29 and 0.31.
Toha starts to emerge!

Adding Layers
Refining this further, we can create several separate ranges.
By choosing these with small intervals between them, we create a series of layers and start to get something rather interesting.
Adding Texture
So we’ve got a layered noise field, but it’s not exactly a looker at this point.
A first step is to add texture, I do this by first placing 500,000 particles spread across our layers. From there, I use the noise field values to determine which direction each particle should move in each loop of the algorithm.
Remember that each particle is also limited by the value range of the layer that contains it, so if its value is too low or high then we won’t show it, but we will still move it invisibly.
Toha has two different rendering modes - particles either leave a circular point as they move or they travel until they reach a set distance and then draw a line from their previous “waypoint”. Some pieces will exclusively use one mode, whilst others will alternate rendering between each layers.

In this close crop, we can see the clear difference in the two rendering modes as well as how the line render often “jumps” across tight curves.
I use a similar approach on the background in order to simulate the texture of paper or canvas (this effect is removed for print-optimised images so you’re free to use a medium of your own liking).
Scaling and Shaping
By varying the scale of the noise field, we can create layers of differing size.

At low scaling levels, negative space often plays a stronger role and emphasises the hidden subtleties of the underlying noise field.

At high scaling levels, noise is capped to ensure the outputs are still enjoyable even on smaller displays.
In addition to adjusting scale, we can tune the shapes our field generates by tweaking the relative weighting of each “octave” of noise.
Toha uses 3 octaves which means there are 3 separate contributions to the noise field. If we allow one contribution to dominate then we get a smoother resulting noise field, whereas increasing the 2nd and 3rd contributions causes layers to become more disorderly.

With very low Edge Movement, circles and smooth curves are common.

With the highest Edge Movement, layers are more unpredictable as order begins to give way to chaos. Pushed beyond this level, Toha became too unpredictable to be trusted!
A Splash of Color
Palettes…… for many generative artists, colors are the toughest part of any series and certainly an area where doubt and anxiety can creep in. This was certainly true for Toha, I recognised that in order to create the diversity I wanted for a ~1,000-piece series, I would need at least twenty palettes.
As a huge fan of monochrome art, “Chalk” (white on black) and “Charcoal” (black on white) were easy starters, but the free palettes stopped there. So for many weeks, I would take photos of anything from flower arrangements to advertising billboards, children’s toys to magazine covers, and stranger things besides.

Color Comparison Tool
I built out several basic helpers so I could iterate relatively quickly through potential color schemes and ensure that I didn’t inadvertently create two very similar palettes without realising.
Whilst palettes were probably only about 20% of the total design/coding effort, this was heavily skewed towards the weeks leading up to launch and made up about 80% of the week prior to launch. More than once, my wife dragged me away from my laptop at 3AM with the sage advice that my eyes were not to be trusted when most rational people were asleep.

Charcoal - one of the first palettes and a personal favourite for its simplicity and pureness.

Opaline - one of two “rainbow” palettes. These are intentionally rarer than the other regular color schemes.
Complementing the color palettes, an additional property “Color Variation” controls whether layers are a single color or whether the color shifts across the output and by how much.

With no color variation, each layer is a perfectly consistent hue.

At the highest level of variation, layers can transition color multiple times across a single piece.
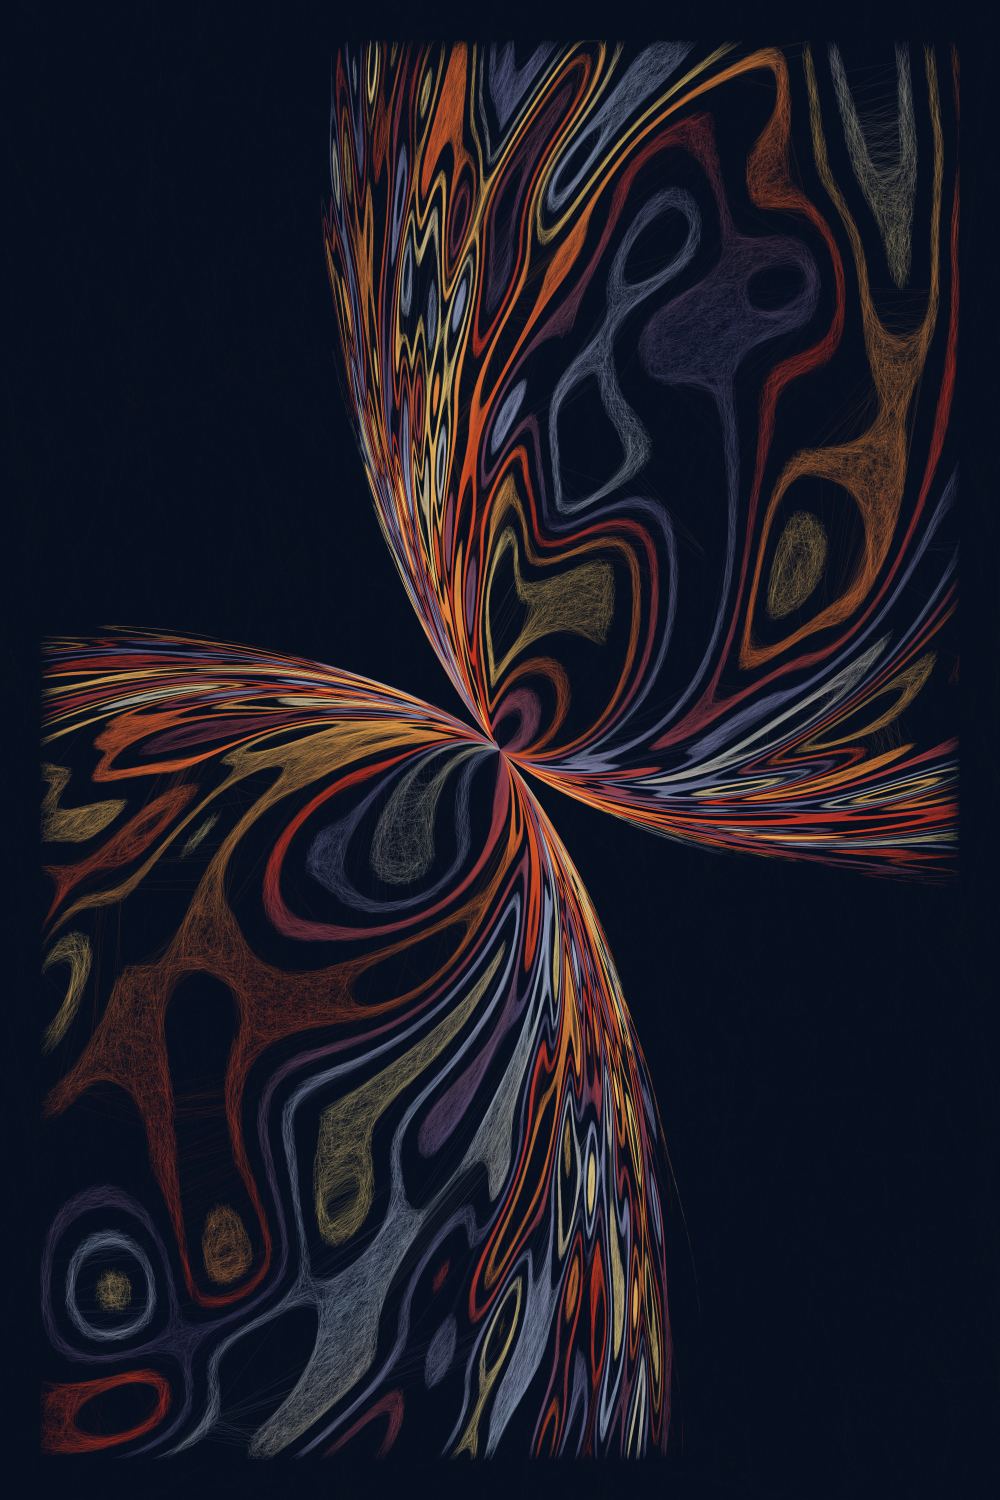
Distortions
“Is this rare?” - the calling cry of the less-spotted minter.
As a collector as well as an artist, I understand the lure of rare traits/properties. They add an extra dimension to a collection and also provide an opportunity for an artist to experiment with ideas that push the series in some fun and unexpected directions.
Broadly, distortions in Toha work in three ways:
Diamond and Pinch adjust how the noise field values are calculated.

The Diamond distortion adds a sinusoidal component to the noise field based on the sum of the x and y coordinates.

Pinch adds an inverse power component to the noise field that compresses values nearer the centre.
Echo, Singularity, and Spin distort the position of each particle.

Echo creates a secondary noise field that pulls particles towards the centre or pushes them away.
It also forces horizontal or double reflection.
Singularity applies a strong sinusoidal-based displacement to particles based on the angle between them and the centre.

Spin applies a rotational effect that strengthens as particles move further away from the centre.
Overlap and Reduction manipulate the value ranges that constrain our layers.

Overlap expands each value range so that they layer on top of one another.

Reduction drastically reduces the size of each value range, resulting in thin layers and an increase in negative space.
Stencils
Whilst they’re technically separate, stencils and distortions are mutually exclusive. This was a deliberate choice because the combined outputs could be so strange that they verged on being “broken” far too often.
Each stencil works in the same way, a series of shaped restrictions are generated, circles (unsurprisingly) for Circles and Packed Circles, or rectangles for Quadrants and Subdivision. In the case of Quadrants, each rectangle also imposes a different scale (5, 8, 12, and 20) on its noise field.

The simplest stencil, Circle is also the rarest.

The Packed Circle has additional variety, with the maximum circle size as an additional randomly-assigned property.

Perhaps the most visually striking stencil, a self-contained “quadtych” at 4 different scales.

A late addition, this stencil uses recursive subdivision, an algorithm that I love for its simplicity and unpredictability.
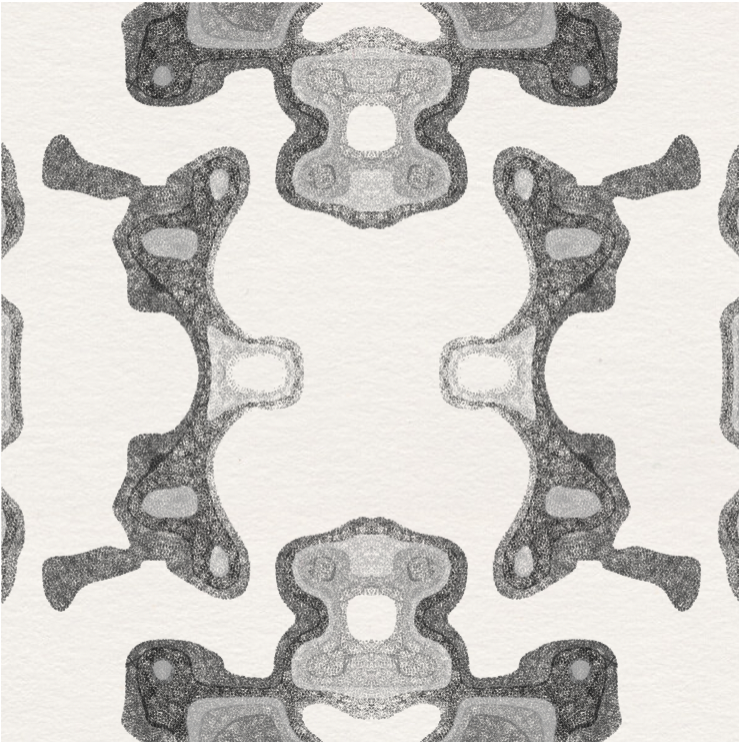
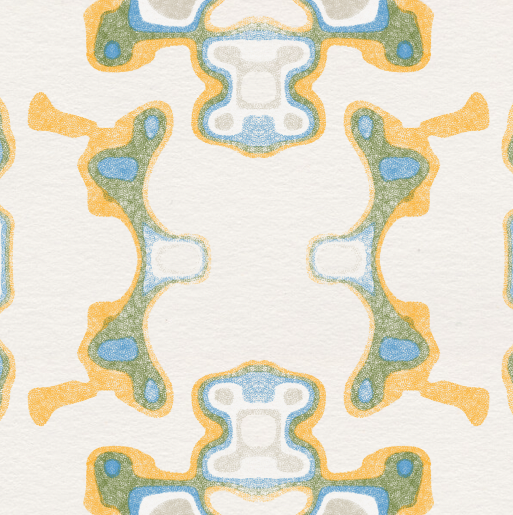
Reflections
The last variation is quite simple but is close to my heart because Toha was originally going to be a series where every piece had only horizontal reflection.
The decision to move away from this was quite a long one, it allowed for more organic pieces but it took time for me to accept that it was in the best interests of the collection. With hindsight it was clearly the right decision (I hope) and the addition of double reflections helped to make up for the loss of exclusive reflectivity.

It’s almost impossible to prevent yourself spotting faces in reflected pieces.

Also known as the “plague doctors”, a beautiful serendipitous roll of the RNG dice.
That’s all folks!
If you made it this far then kudos to you for taking the time to read my ramblings! This is just the first in a series of planned Toha posts, the second will be much shorter and will focus on the expected vs actual rarity stats across the collection.
Lastly, I want to give huge thanks to the minters, collectors, supporters, friends, and family who were all instrumental in bringing Toha to life.